
Most modern high end photo editing and manipulation programs have a tool, or set of them, along with some techniques that allow users to create what looks like multiple instances of the same person in a single defined space, hence the name cloning. GIMP, the free, open source program allows users to do the same, without having to lay down a penny, and it’s not that difficult.
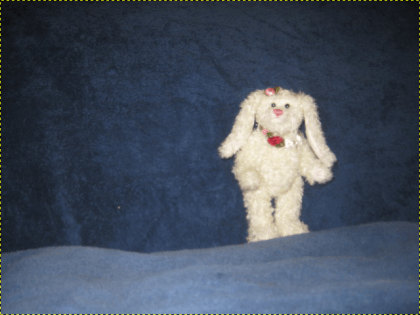
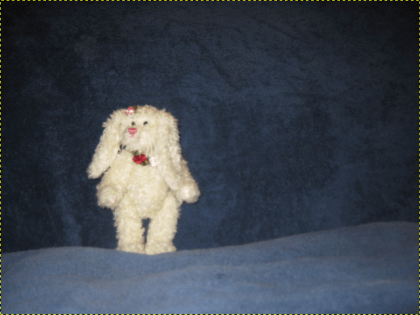
To begin, you first need two photographs of the same person, in this case, for example purposes, we’re using two photographs of a stuffed toy rabbit; this one:
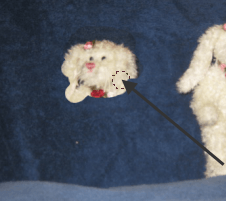
And this one:
 Note how the background and lighting must be exactly the same for both pictures, the only thing different in the two images is the location of the subject.
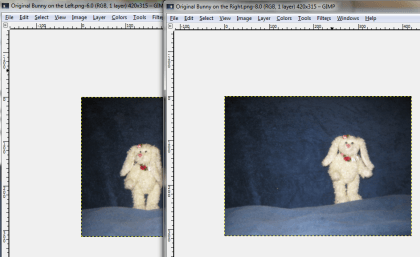
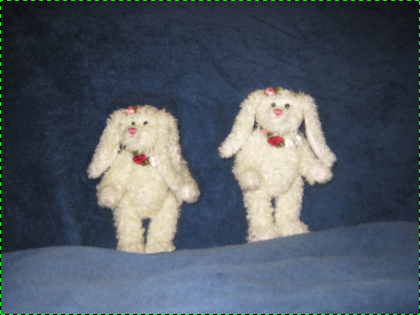
Open both pictures using the File and then Open command from the main menu, so you have them both, like this:
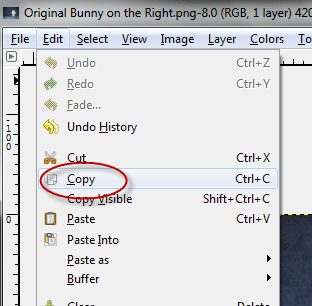
 Chose one or the other of them to serve as the base, or background picture, in this case, we’ll use the one on the left, so make the one on the right active, then choose the Edit, and then the Copy command to copy the entire photograph to the clipboard:
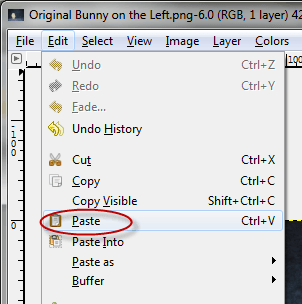
 Then, make the other picture the active one by clicking on it, then click choose the Edit and then Paste commands to copy the other photograph into this session:
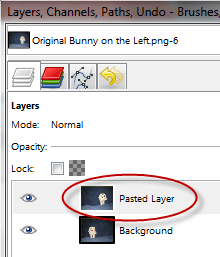
 Next, look over at your layers pane and note that something has been added:
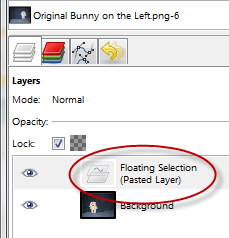 Right click where it says Floating Selection (Pasted Layer) to get this dropdown:
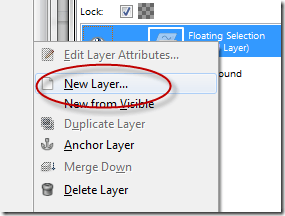 Click on New Layer to convert the picture you pasted in to an actual layer:
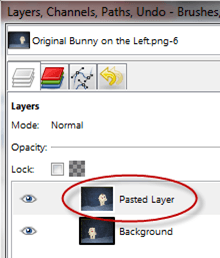 Now you have one picture you’re working on with two layers.
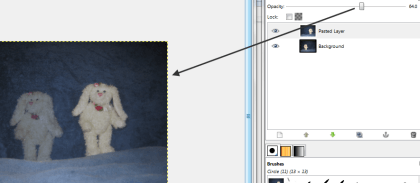
Note how if you move the opacity slider, you can move slowly between the two layers:
 Move the slider all the way back to the right again, the click once again on Pasted Layer to get this dropdown again:
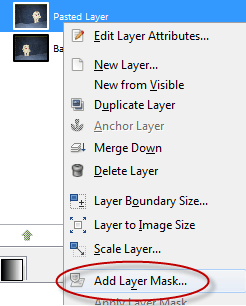 This time, choose Add Layer Mask, you should get this popup:
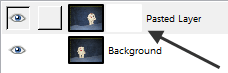
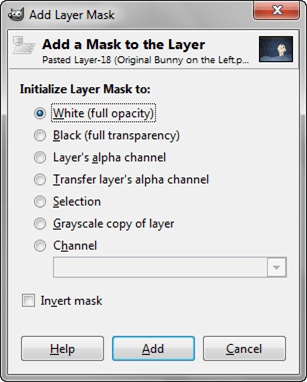 Stick with the default of White (full opacity), by simply clicking the Add button. This should cause yet another change to the Layer pane:
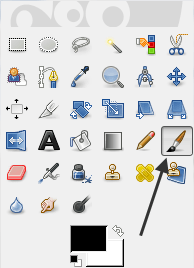
 Note how a white tile was added between the image and the word Pasted Layer, this is your Layer Mask. Click on that white tile, indicating you wish to work on your Layer Mask instead of the pasted in picture; then move over to your Toolbox pane and select your Paintbrush Tool, by clicking on it:
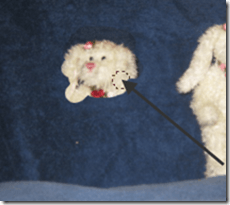
 Then, use your paint brush to paint the area where the bunny was in the background picture:
 Note: You might want to move your opacity slider as mentioned above slightly to allow you to see the image you are painting as you paint so you can see all of your borders.
Keep this up till you have the whole clone part painted:
 And that’s all there is to it; in addition to the appearance of cloning, this technique can also be used to add other objects or people to a photograph. Also, by adding more layers and masks, more than one object can be added.
To begin, you first need two photographs of the same person, in this case, for example purposes, we’re using two photographs of a stuffed toy rabbit; this one:
And this one:

Open both pictures using the File and then Open command from the main menu, so you have them both, like this:


Note how if you move the opacity slider, you can move slowly between the two layers:


Keep this up till you have the whole clone part painted:

No comments:
Post a Comment