Many people that use Microsoft Word on a regular basis assume they know everything there is to know about formatting paragraphs, but there is one area, where many may not, and it all falls under the Paragraph section on the main ribbon in Word 2010:

Most people know about the bulleting and centering options on the left side of this section, so we’ll concentrate on those on the right; first up are the indenting icons

These are used to indent a single paragraph, like this:
Here it is before:
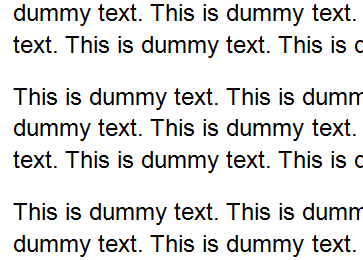
…and here it is after:
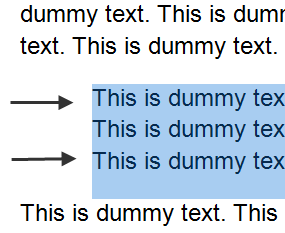
Clicking on it successive times moves it farther in each time. The other icon puts it back.
Next up are the paragraph line spacing options, using the Line Spacing icon:

Clicking on it brings up this popup:
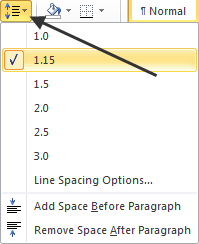
Here you can choose which sort of line spacing you want for just the paragraph highlighted, or whether to add or remove a space before or after the paragraph.
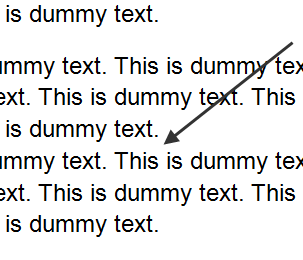
In this example the line between the two paragraphs was removed.
So, far, pretty simple stuff; the next option is a little more useful, but before using it, here’s a little trick; first add a number as the first character for several of your paragraphs, like this:
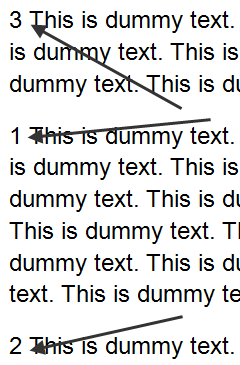
Then, highlight them all, then click on the the Sort icon:

Change text to number on the popup…
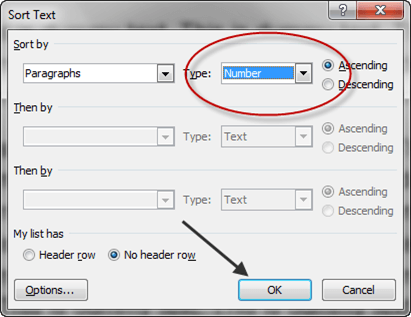
…then click OK, you should see your paragraphs have been reorganized into a different order based on the numbers you typed in:
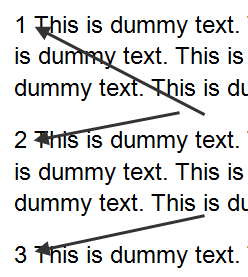
This is a very convenient way to move several paragraphs around quickly, but it also shows off what the sorting icon does. You can do the same thing with text.
Next is the show/hide paragraph icon, clicking on it shows you all of the paragraph markers in your document, in case you ever want to do that:
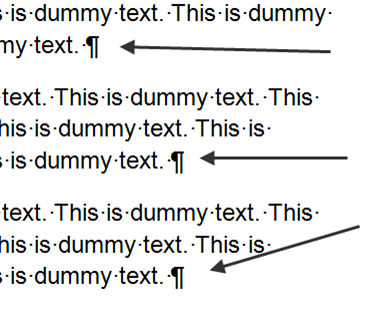
After that are the formatting icons, and they likely offer far more than you ever knew, first highlight one paragraph, then click on the Shading icon:

Here you can pick a color or shade for the background of just one paragraph to help make it stand out for you;
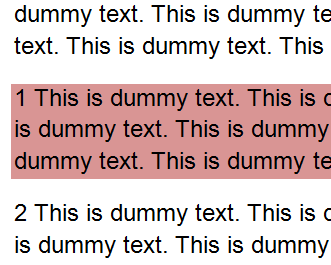
It also has some other color options in case the defaults aren’t enough for you.
Next, is the very handy Paragraph Border and Shading icon.

You can use these options if you really want a paragraph to stand out. Clicking on it will get you this popup:
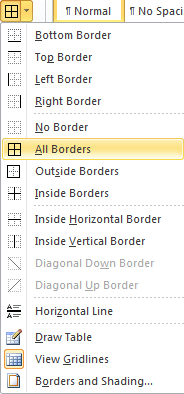
As one example, choosing All Borders gets you this:

On the other hand, by playing around with the Borders and Shading… option at the bottom of the menu, you can create stuff like this:
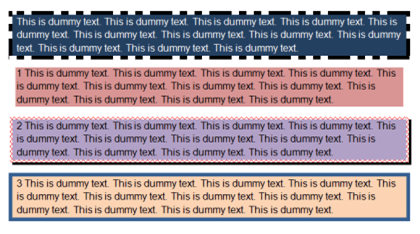
In summation, the Paragraph formatting tools on the main ribbon in Word can help you do things with individual paragraphs to make them stand out so that readers will be drawn to reading them.

Most people know about the bulleting and centering options on the left side of this section, so we’ll concentrate on those on the right; first up are the indenting icons
These are used to indent a single paragraph, like this:
Here it is before:

…and here it is after:

Clicking on it successive times moves it farther in each time. The other icon puts it back.
Next up are the paragraph line spacing options, using the Line Spacing icon:
Clicking on it brings up this popup:

Here you can choose which sort of line spacing you want for just the paragraph highlighted, or whether to add or remove a space before or after the paragraph.

In this example the line between the two paragraphs was removed.
So, far, pretty simple stuff; the next option is a little more useful, but before using it, here’s a little trick; first add a number as the first character for several of your paragraphs, like this:

Then, highlight them all, then click on the the Sort icon:
Change text to number on the popup…

…then click OK, you should see your paragraphs have been reorganized into a different order based on the numbers you typed in:

This is a very convenient way to move several paragraphs around quickly, but it also shows off what the sorting icon does. You can do the same thing with text.
Next is the show/hide paragraph icon, clicking on it shows you all of the paragraph markers in your document, in case you ever want to do that:

After that are the formatting icons, and they likely offer far more than you ever knew, first highlight one paragraph, then click on the Shading icon:
Here you can pick a color or shade for the background of just one paragraph to help make it stand out for you;

It also has some other color options in case the defaults aren’t enough for you.
Next, is the very handy Paragraph Border and Shading icon.
You can use these options if you really want a paragraph to stand out. Clicking on it will get you this popup:

As one example, choosing All Borders gets you this:

On the other hand, by playing around with the Borders and Shading… option at the bottom of the menu, you can create stuff like this:

In summation, the Paragraph formatting tools on the main ribbon in Word can help you do things with individual paragraphs to make them stand out so that readers will be drawn to reading them.


No comments:
Post a Comment