Are you still using Windows XP? Is it slowing down? We found a quick and easy way to optimize Windows XP using a tool called Quick XP Optimizer. It improves the performance of your system and applications and speeds up the boot up and shut down processes of Windows XP. This free tool speeds up the boot up and shut down of Windows, makes applications load quicker and run smoother, and speeds up browsing of your files and browsing on the internet. Quick XP Optimizer also allows you to easily clean up your hard drive and remove unnecessary files in Windows. And you don’t have to know anything about registry and system settings!
NOTE: Quick XP Optimizer is a safe program to run; we had no problems with it. However, it’s always a good idea to play it safe. We recommend you create a system restore point before optimizing your system with this tool.
Download Quick XP Optimizer from
http://www.thoosje.com/Windows-XP-Optimizer.html.
NOTE: Quick XP Optimizer requires Microsoft .NET Framework Version 1.0 or higher to install. You can download version 2.0 from
http://www.microsoft.com/downloads/details.aspx?FamilyID=0856EACB-4362-4B0D-8EDD-AAB15C5E04F5&displaylang=en.
If you want to install the latest version of the .NET Framework, which is version 4.0, you can download a standalone installer from
http://www.microsoft.com/downloads/en/details.aspx?displaylang=en&FamilyID=0a391abd-25c1-4fc0-919f-b21f31ab88b7.
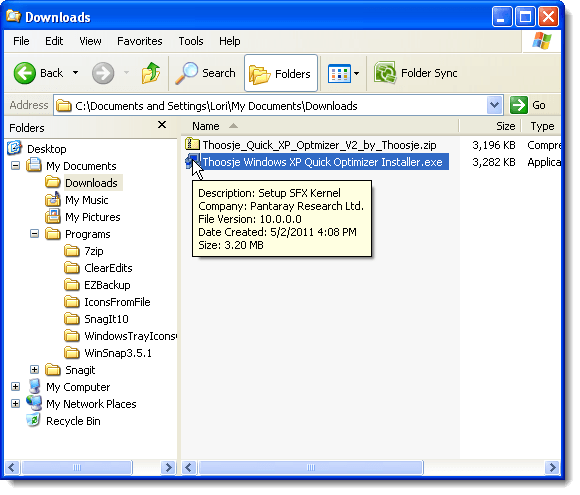
To install Quick XP Optimizer, unzip the .zip file you downloaded and double-click on the .exe file.
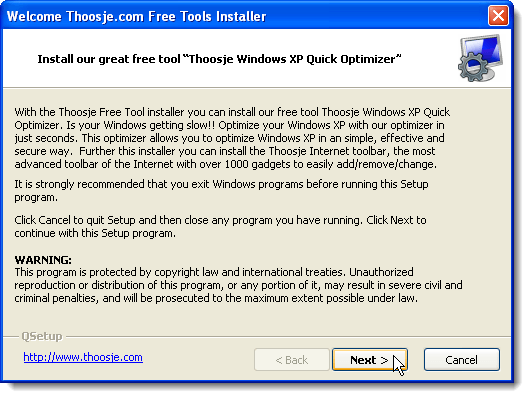
The Welcome screen on the installer displays. Click Next.
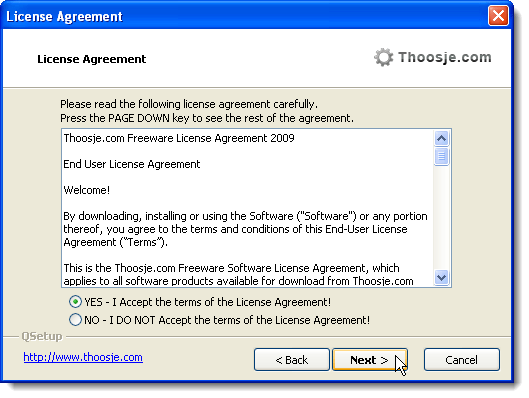
The License Agreement displays. Read through the agreement and click the YES radio button. Click Next.
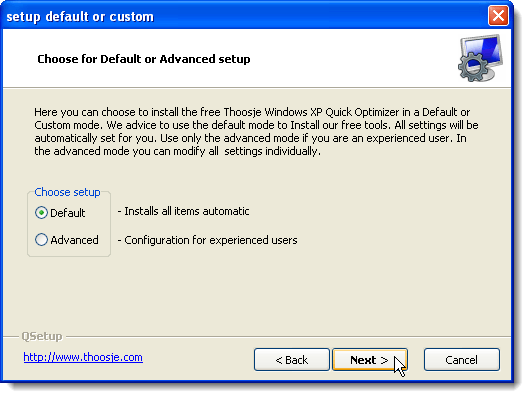
Select Default or Advanced for the setup mode. It is recommended that you choose Default, unless you are an experienced user. We chose Default. Click Next.
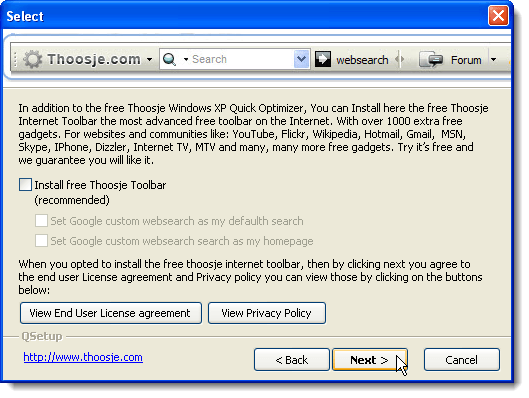
The next screen allows you to install the free Thoosje Toolbar, if desired. This toolbar provides many free gadgets. If you don’t want to install the toolbar or set Google as your default search or homepage, unselect all the check boxes. We turned off all three options. Click Next.
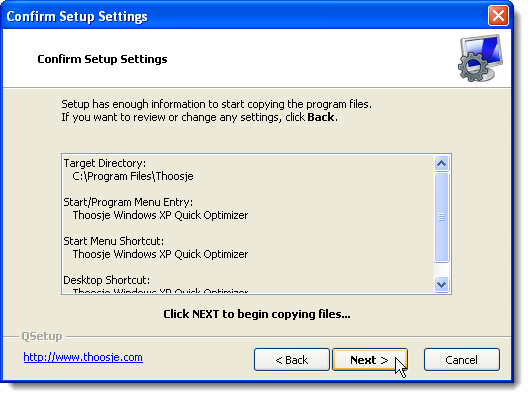
The Confirm Setup Settings screen displays. A summary of the settings you chose is provided. To change any of the settings, use the Back button. To begin copying the files for Quick XP Optimizer, click Next.
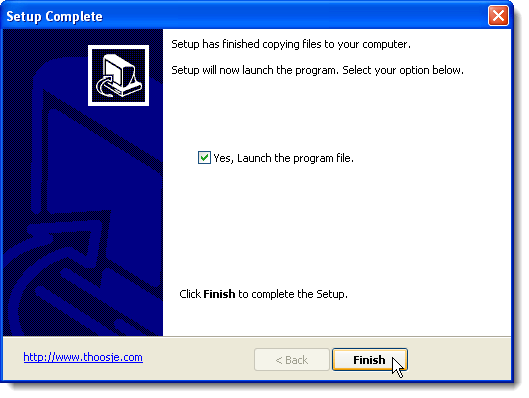
The Setup Complete screen displays when installation finishes. If you want to start Quick XP Optimizer immediately after closing the setup wizard, select the Yes, Launch the program file check box. It should be on by default. Click Finish.
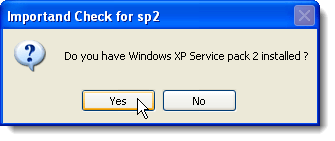
The first time you run Quick XP Optimizer you are asked if you have Windows XP Service Pack 2 installed. Click Yes or No to answer the question and continue loading Quick XP Optimizer.
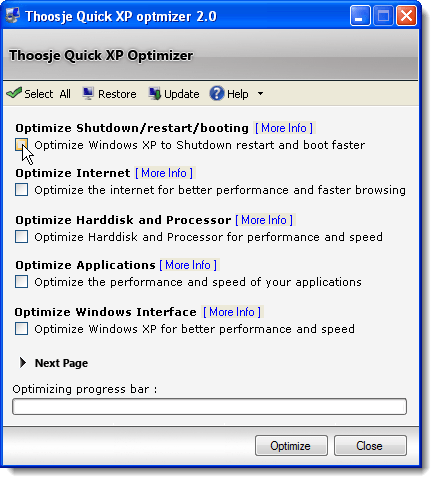
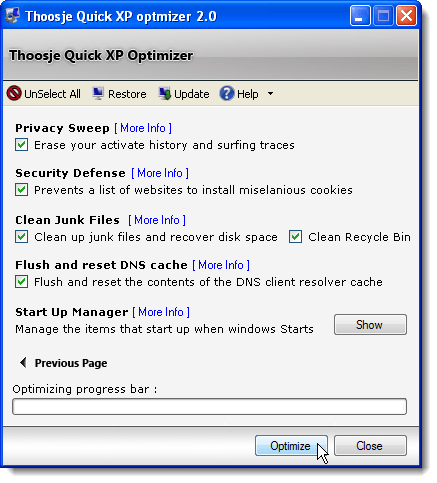
The Quick XP Optimizer main window displays. Select the check boxes for the items you want to optimize. If you want to optimize everything available to optimize, click the Select All button. To see more options to optimize, click Next Page.
NOTE: If you want to learn more about an option, click the More Info link. The help page for Quick XP Optimizer on the Thoosje website displays, showing a description of the selected option.
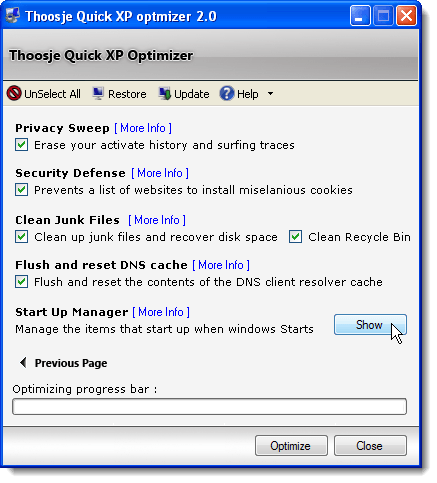
Quick XP Optimizer allows you to select what runs automatically when Windows starts up. To control start up items, click Show to the right of the Start Up Manager heading.
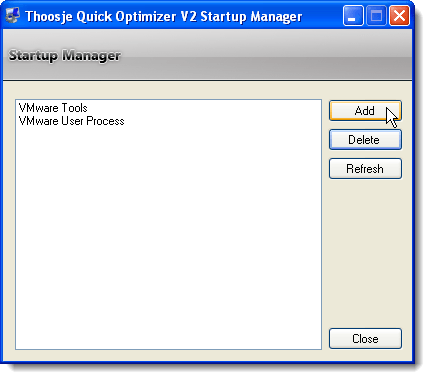
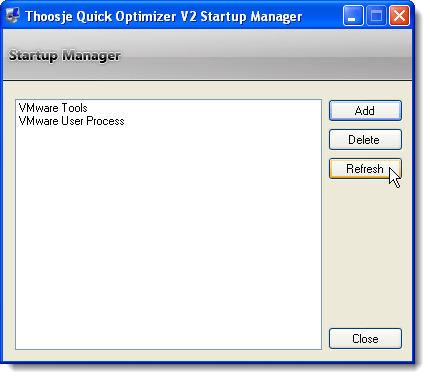
The Startup Manager dialog box displays. To prevent an item from starting when Windows is started, select the item in the list and click Delete. You can also add programs to the list that you want to start with Windows. To do this, click Add.
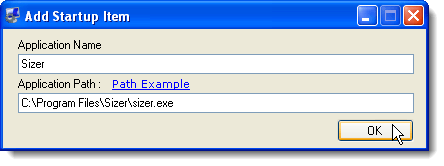
The Add Startup Item dialog box displays. Enter the name of the program in the Application Name edit box. This displays in the list of the items on the Startup Manager dialog box. Enter the full path to the program executable file in the Application Path edit box. For example, we use a program called Sizer (see our post, Easily Resize Windows to Specific Sizes, for more information) to easily resize windows to a specific size for screenshots and we want it to always be available. So, we added it to the list of items that start when Windows starts.
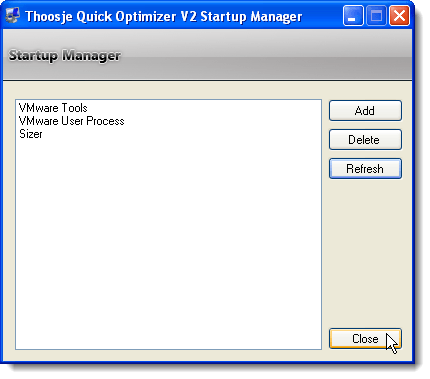
When you add an item, it does not display in the list of items on the Startup Manager dialog box automatically. To update the list, click Refresh.
Once you have added all the items you want to start with Windows, click Close to close the Startup Manager dialog box.
To optimize Windows using your selections in Quick XP Optimizer, click Optimize. The Optimizing progress bar displays the progress of the optimization.
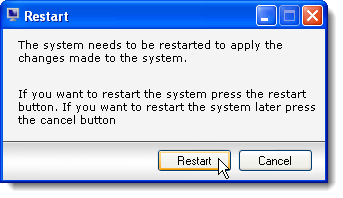
Once the optimization process is finished, your system must be restarted for the changes to take effect. Click Restart on the Restart dialog box.
Quick XP Optimizer is a useful tool if you are still using Windows XP. It will help keep your system running faster and more efficiently.


No comments:
Post a Comment