The Alternate CD is different from the standard Desktop CD. The standard CD allows users to try out Ubuntu without installing, while the Alternate CD only offers a text-based installer. To find it, go to the Ubuntu download page.
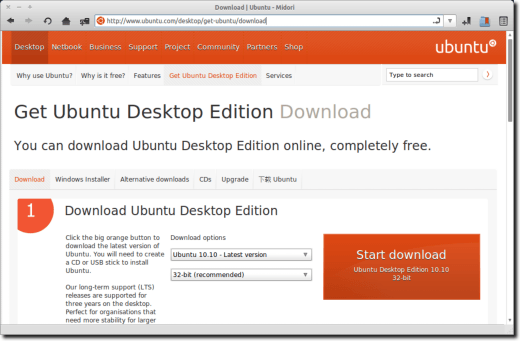
Now, click on the Alternative downloads tab.

Note: you could also simply navigate to this link, which will take you directly to the alternate downloads page.
There are numerous ways to download the Alternate CD. You can download the disk image through your web browser (http downloading), as well as via bittorrent. Choose your method, and download it.
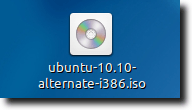
When the file has finished downloading, you’ll have the following disk image on your Desktop (or Downloads folder, or wherever you downloaded it):
Note: Obviously, downloading the Alternate CD requires an Internet connection capable of moving roughly 700 MB worth of data, but the beauty is that with download managers, the process can be paused and then resumed later.
You are now ready to burn the disk image to CD.

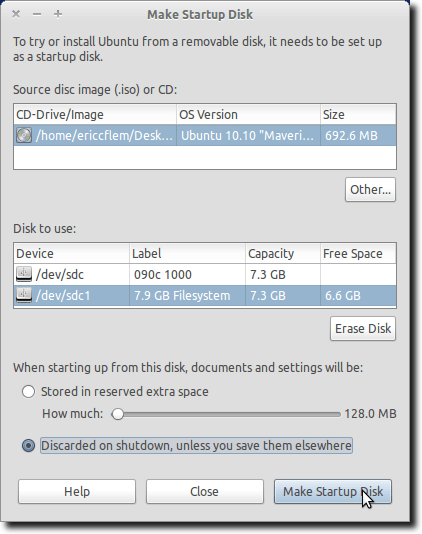
If you want to save a blank CD, you can simply mount the image, or you can also do as we did, which was to use the Startup Disk Creator to copy the image to a USB drive.
If it doesn’t appear, for some reason, we can still use this method. First, open a Terminal window
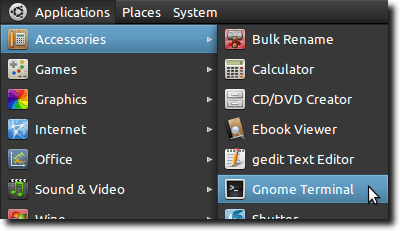
Then, type the following command:
gksu “sh /cdrom/cdromupgrade”
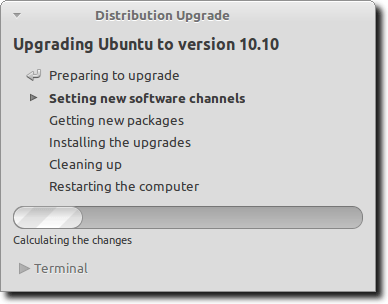
The distribution upgrade window will now appear, and will begin calculating the items on your system that can be upgraded.
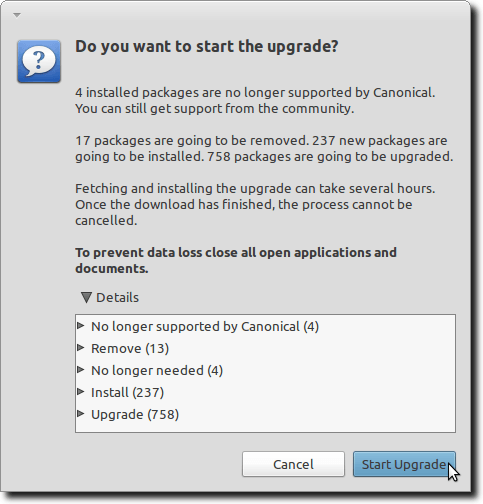
When this is finished, you’ll see another window, informing you of the details of the upcoming upgrade.
You’ll also be asked if you want to download the latest upgrades from the Internet. This may be preferable in many cases (if possible), because you have likely installed programs not included on any Ubuntu installation disk.
Those programs, without also downloading upgrades from the Internet, will not be updated until you do. Still, if the reason for upgrading in this manner is a sketchy, slow or unreliable network connection, then skip this step.
If the upgrade details are acceptable (you can see that in this case, a few items will be removed), click the Start Upgrade button, and the upgrade will begin.
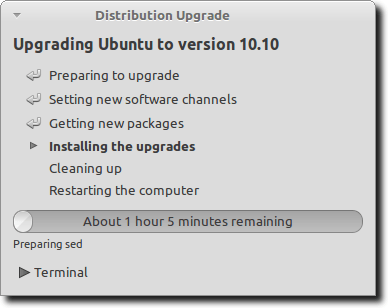
Depending on the speed of your CD drive, your processor or network connection, the process could take a few minutes to over an hour. When it’s complete, you will have the upgraded version of Ubuntu available to use.
Note: this process is only good when upgrading from one release to the next. For instance, when you could follow these steps when upgrading from Lucid (10.04) to Maverick (10.10). It is not able to skip a release, however; if you’re currently using Karmic (9.04), you would first need to upgrade to Lucid, and then to Maverick.

Now, click on the Alternative downloads tab.

Note: you could also simply navigate to this link, which will take you directly to the alternate downloads page.
There are numerous ways to download the Alternate CD. You can download the disk image through your web browser (http downloading), as well as via bittorrent. Choose your method, and download it.
When the file has finished downloading, you’ll have the following disk image on your Desktop (or Downloads folder, or wherever you downloaded it):

Note: Obviously, downloading the Alternate CD requires an Internet connection capable of moving roughly 700 MB worth of data, but the beauty is that with download managers, the process can be paused and then resumed later.
You are now ready to burn the disk image to CD.

If you want to save a blank CD, you can simply mount the image, or you can also do as we did, which was to use the Startup Disk Creator to copy the image to a USB drive.

Upgrading Your System
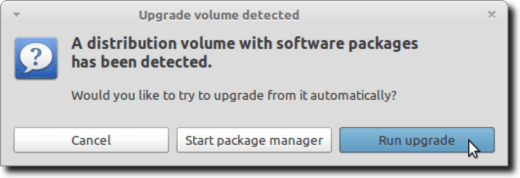
Once you’ve downloaded and burned the CD (or USB drive), or obtained the CD from a friend (or downloading it at the library or some other means), it’s time to put it to use. Either remove and plug in the USB drive, or load the CD. Once mounted, the following window should appear.
If it doesn’t appear, for some reason, we can still use this method. First, open a Terminal window

Then, type the following command:
gksu “sh /cdrom/cdromupgrade”
The distribution upgrade window will now appear, and will begin calculating the items on your system that can be upgraded.

When this is finished, you’ll see another window, informing you of the details of the upcoming upgrade.

You’ll also be asked if you want to download the latest upgrades from the Internet. This may be preferable in many cases (if possible), because you have likely installed programs not included on any Ubuntu installation disk.
Those programs, without also downloading upgrades from the Internet, will not be updated until you do. Still, if the reason for upgrading in this manner is a sketchy, slow or unreliable network connection, then skip this step.
If the upgrade details are acceptable (you can see that in this case, a few items will be removed), click the Start Upgrade button, and the upgrade will begin.

Depending on the speed of your CD drive, your processor or network connection, the process could take a few minutes to over an hour. When it’s complete, you will have the upgraded version of Ubuntu available to use.
Note: this process is only good when upgrading from one release to the next. For instance, when you could follow these steps when upgrading from Lucid (10.04) to Maverick (10.10). It is not able to skip a release, however; if you’re currently using Karmic (9.04), you would first need to upgrade to Lucid, and then to Maverick.


No comments:
Post a Comment