 We’ll assume for the moment that you already have Thunderbird downloaded, and working with Gmail. We’ll also assume that you’ve downloaded the Lightning extension, and have it set up as your desktop calendar. If not, you can download Thunderbird here and Lightning here. Using Gmail in Thunderbird is pretty simple, but for detailed instructions, check out this page.
Okay, now that you have all that settled, let’s get you using your Google Contacts and Google Calendar.
In your web browser, navigate to the Thunderbird Add-ons page.
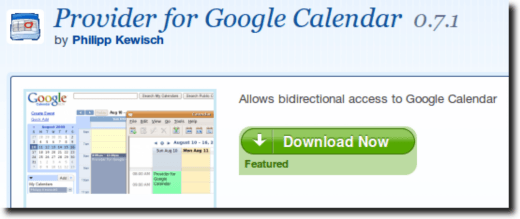
There are two extensions we want. The first is called Provider for Google Calendar, and is what allows us to interact with our Google Calendar through Thunderbird.
The second is Zindus, which allows us to use our Google Contacts (as well as our Yahoo Contacts), in Thunderbird.
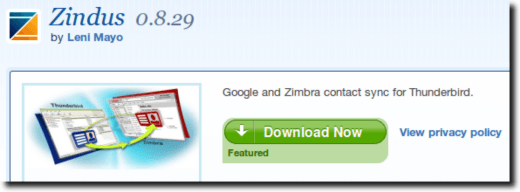
Provider for Google Calendar can be found on this page, while Zindus can be found here.
Installing the Extensions
To avoid repetition, we’ll show in detail how to install one of the extensions, but the process is the same for both. To install either extension, simply hit the large Download Now button on its Add-ons page. Since these are extensions for Thunderbird, and not Firefox, they won’t install directly to Thunderbird. Instead, you’ll see this pop-up.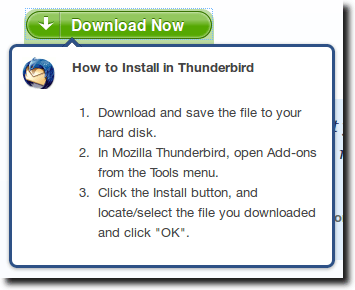
You’ll now download the extension to your hard drive (it should happen automatically), and then simply follow the directions shown. To do that, open Thunderbird and choose the Add-ons option in the Tools menu.
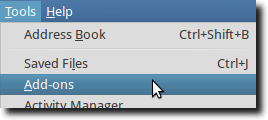
Now, click the Add button, find the .xpi file you downloaded, and select it. The extension will now install; to use it, simply restart Thunderbird. But before this, install the other extension, then restart.
Configuring Provider for Google Calendar
First we’ll set up Lightning (the calendar extension), to use Google Calendar. To do this, go to your calendar, then right-click as shown and choose the New Calendar option.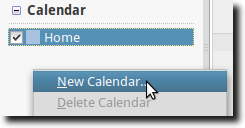
Click to create a calendar that is On the Network, then on the next screen, you’ll see a new option: Google Calendar. Select it, and then paste in the XML location of the Google Calendar you want to use. To get this URL, first go to Google Calendar and choose Calendar Settings in the Gears menu.
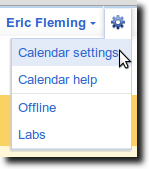
When the settings page loads, go to the Calendars tab and click the calendar you wish to use. This is where we’ll find the XML address.
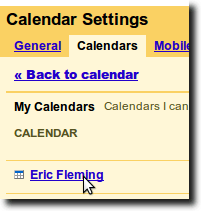
At the bottom of the page you’ll see two different addresses, one a private address and the other the public address. You can copy the XML address (by right-clicking and choosing Copy Link Location of either.

Now, just paste the address in the Create New Calendar window.
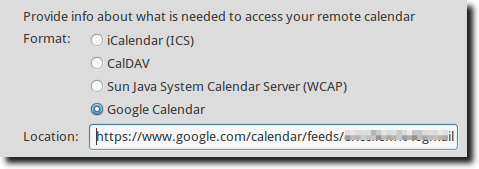
You’ll now need to enter your Gmail address and password to authorize access.
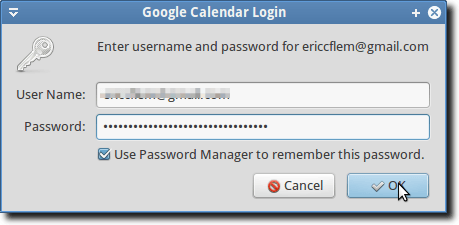
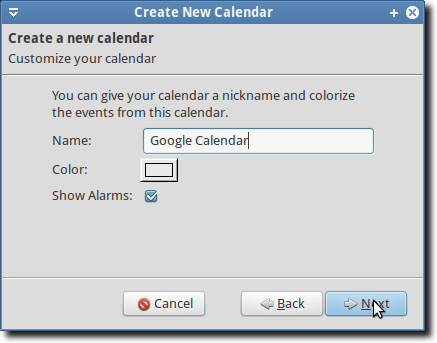
Finally, give your new calendar a name, select a custom color if you’d like, and hit the Next button.
And that’s it… your Google Calendar events will now show up in Thunderbird, thanks to the Lightning extension and the Provider for Google Calendar extension.
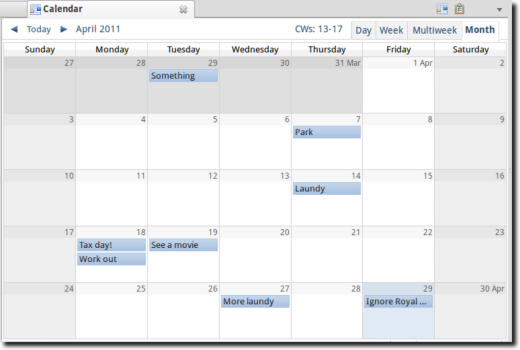
The great thing about this extension is that events created in Google Calendar will be displayed in Thunderbird, and any changes that you make in Thunderbird (whether you create, modify or delete an event), will be synchronized back to the Google Calendar servers.
Configuring Zindus
Setting up Zindus is quite a bit simpler than setting up Provider for Google Calendar, thankfully! From the Thunderbird Add-ons window, select Zindus and click the Preferences button. The following window will appear.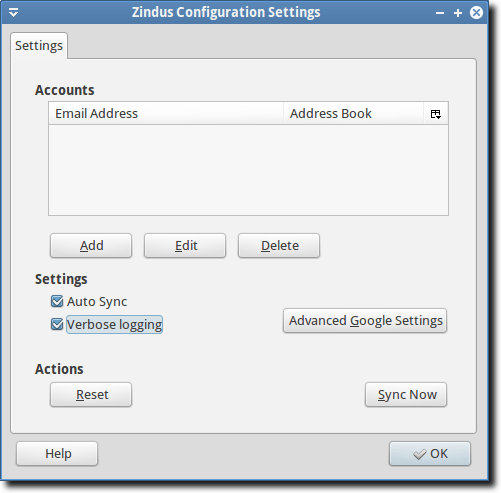
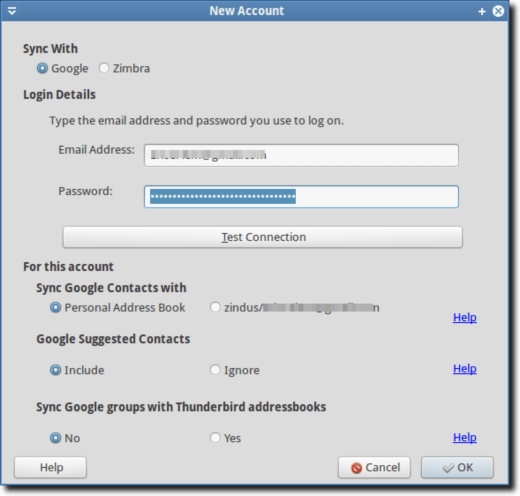
Click the Add button, then on the new window, fill in your Gmail address and password, where to synchronize your Google Contacts (in your Thunderbird Personal Address Book or a new one, specifically for your Google Contacts), whether to include or ignore your Google Contacts when suggesting contacts, and whether to synchronize any groups you may have created.
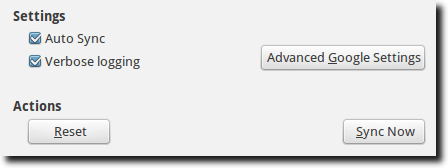
Once you’ve done this, the new account should show up, and all that’s left is to choose your Auto Sync and login options and to click the Sync Now button.
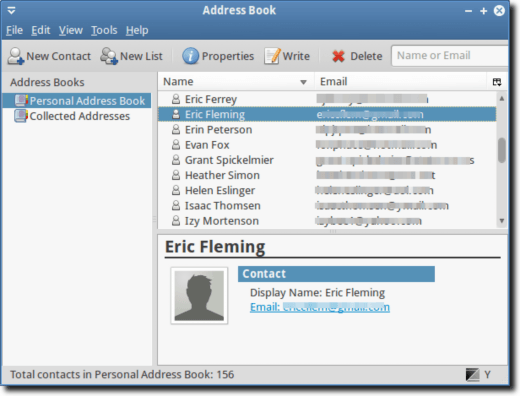
The next time you look at your Thunderbird Address Book, you should see all your Google Contacts.
This whole procedure isn’t perfect, of course. There are still issues with Google Tasks (they don’t synchronize), and using extensions like this isn’t the same as having built-in support that won’t break when the other party changes something. Still, for now it’s the best choice for someone who wants the everywhere-access of Gmail and Google Calendar, with the desktop convenience and backup of Thunderbird.


No comments:
Post a Comment