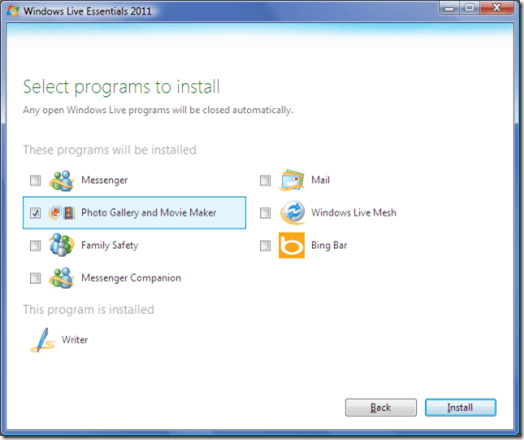
To install Windows Live Movie Maker, you must install Windows Live Essentials. Download and run the Windows Live Essentials installation file, then click Choose the programs you want to install. Select Photo Gallery and Movie Maker, then select Install.


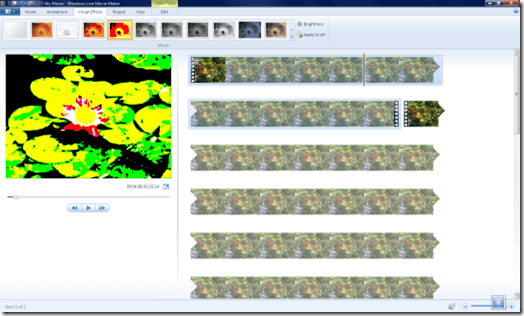
Photo and video files will appear as film strips in the primary pane on the right. Click the Visual Effects tab, then mouse over the effects to see them in the preview window on the left.
Click on the scroll bar on the right side of the effects ribbon to see additional effects. Each time you hover the mouse cursor over a new effect, the video will start playing from the beginning in the preview window with that effect in place. Keep in mind that certain effects, such as Fade in From Black and Fade Out to Black, are only applied to the beginning or end of your video clip.

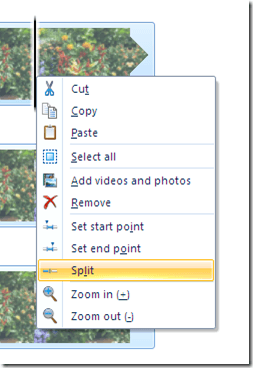
If you don’t want to add the effect to your entire video clip, you’ll need to cut it. Click the play button in the preview window. Continue playing your video until you reach the point where you want to make a cut. When you’ve found the right point, click the pause button in the preview window. Then right click on the film strip and click Split. Do this in each place on your video that you’d like to cut to create additional separate video clips.

Click on the video clip you’d like to add an effect to. Then click the effect in the ribbon toolbar above the preview. Preview the video clip to ensure that the effect has been applied. Each effect will be applied only to one video clip when you click it. That way, you can apply a separate effect to each separate video clip in your video.


Adding Effects
Start Windows Live Movie Maker, click the Home tab, then click Add videos and photos. Find the picture or video you’d like to add an effect to, then click Open.
Photo and video files will appear as film strips in the primary pane on the right. Click the Visual Effects tab, then mouse over the effects to see them in the preview window on the left.
Click on the scroll bar on the right side of the effects ribbon to see additional effects. Each time you hover the mouse cursor over a new effect, the video will start playing from the beginning in the preview window with that effect in place. Keep in mind that certain effects, such as Fade in From Black and Fade Out to Black, are only applied to the beginning or end of your video clip.

If you don’t want to add the effect to your entire video clip, you’ll need to cut it. Click the play button in the preview window. Continue playing your video until you reach the point where you want to make a cut. When you’ve found the right point, click the pause button in the preview window. Then right click on the film strip and click Split. Do this in each place on your video that you’d like to cut to create additional separate video clips.

Click on the video clip you’d like to add an effect to. Then click the effect in the ribbon toolbar above the preview. Preview the video clip to ensure that the effect has been applied. Each effect will be applied only to one video clip when you click it. That way, you can apply a separate effect to each separate video clip in your video.


No comments:
Post a Comment