
 Most people think of GIMP (the free Gnu Image Manipulation Program) as a program for editing photographs or other graphics, much as you’d do with Photoshop, but you can do other things with GIMP as well, and one of those is create animation.
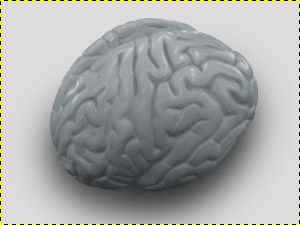
To see how, pull up an image of something that might look good cool animated; for this demo, we’ll use this model of the human brain.
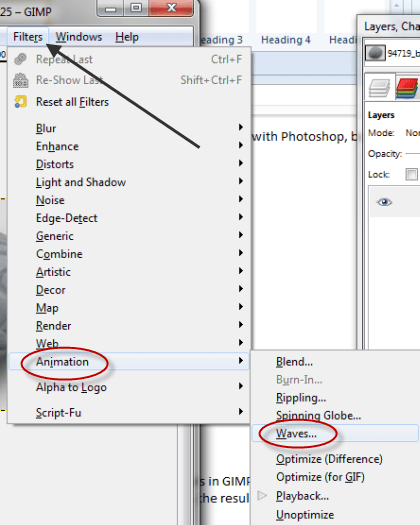
Next click where it says Filters, then Animation, then Waves:
Choose an amplitude, (height of the waves), wavelength, and number of frames. What this will do is automatically open as many layers in GIMP as you specify as your number of frames.
Each layer will contain an image of your original, with the “waves” filter applied successively each time. When the layers are shown quickly one after the other, the result is an animated image of what looks a brain vibrating and making waves.
In our example, we’re keeping the amplitude and wavelength very low so the resulting animation will still be recognizable as a brain when it’s waving.
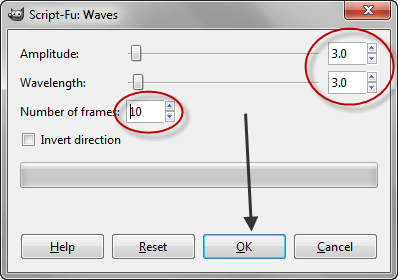
Click the Ok button and the layer generation will begin. You should see a green bar temporarily, then one new still image should appear in a new window:
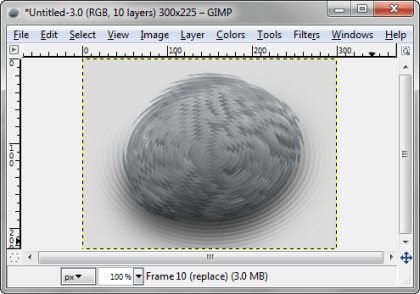
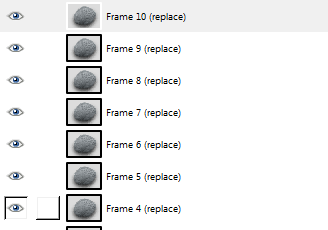
You should also note that all of the layers are shown in the layer pane:
To see your image animated,from the new view of your graphic menu , click once again click on Filters, then Animation again, but this time click on Playback. You should get a playback window, like this:
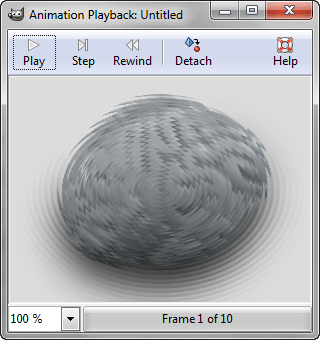
Click on the Play button and your animation should begin.
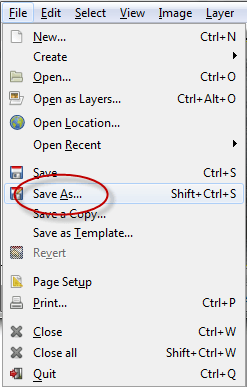
Having it display as an animation in a GIMP window is all well and good, but we still need to do some work to save it in an animated format for use in other applications. To do that, go back to the window that shows the single waved image, and click on Save As from the File menu.
You should get this PopUp window:
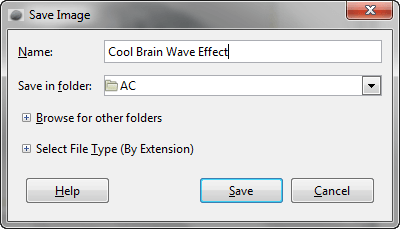
Type a name for your animation file and change to the folder where you’d like it saved, then, click the expand symbol to open the Select File Type:
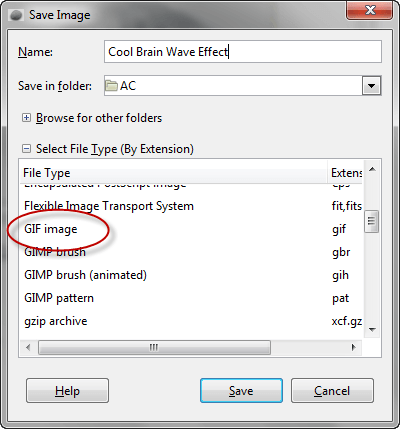
Scroll down and select GIF image, then click on the Save button.
You should get this next PopUp window:
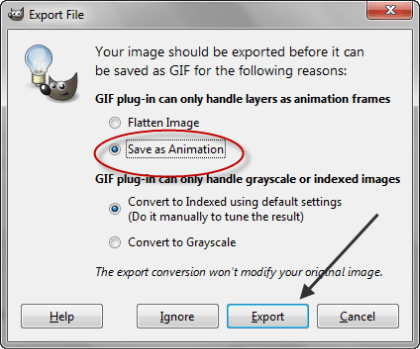
Click the Save as Animation bubble and then click on the Export button. You should get this PopUp:
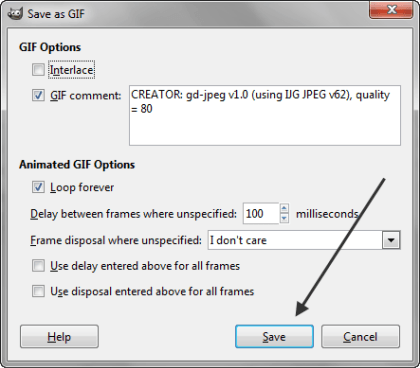
Click on the Save button, and that should do it.
To see the results of your efforts, click on the Start button, search for your file, then double-click on it, and your default browser should load with the animated GIF you created in it.
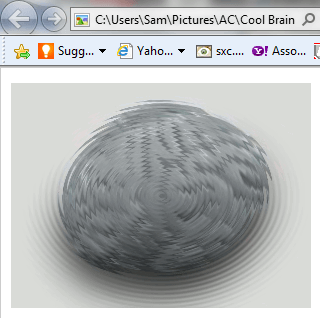
Animated GIF images like this one can be embedded in web pages or posted to your blog for striking effects; you’ll be limited only by your own imagination.
No comments:
Post a Comment