
Quite often the most meaningful greeting cards are those that are handmade, and while those that are made with crayons and glue are fine for when we’re younger, a much more professional look can be achieved by using Microsoft Word.
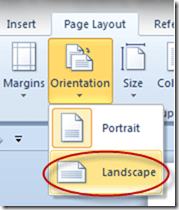
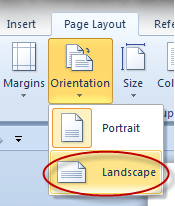
To make a card that will fold naturally in the middle, which will mean having a front, middle material and back, you first need to click on the Page Layout tab on the main ribbon. Click on Orientation, and choose Landscape, so that the card can be folded sideways.
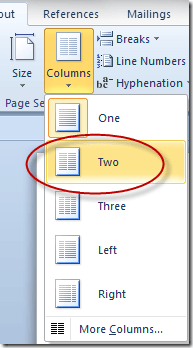
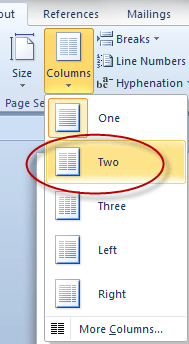
Next, click on Columns, then choose Two
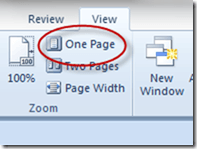
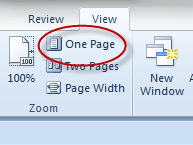
After that, click on the View tab on the main ribbon, then select One Page so that you can see how the whole front and back of the card is looking at the same time.
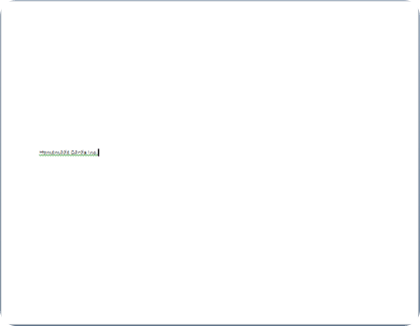
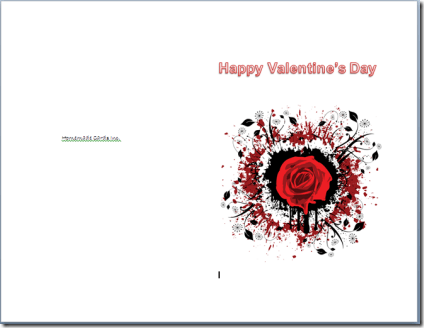
Press the Enter key several times, till you get to somewhere near the center of the page (this will be the back of the card) then type something, like “Homemade Cards Inc.” Pick a cute font for your words and that should do it for the back. At this point your card should look something like this:
Press the Enter key a bunch of times again, until the cursor appears at the top of the right hand side of the page. This will be the front of the card.
Type an appropriate greeting, such as Happy Valentine’s Day, etc.
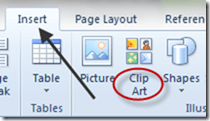
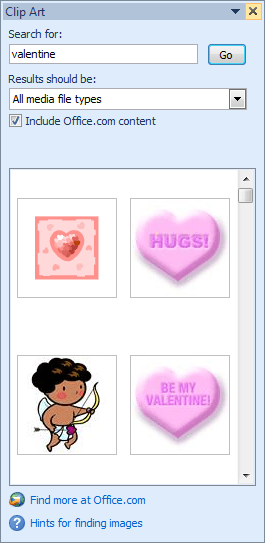
Then press the Enter key a couple of times to create some spaces; after that, click on the Insert tab on the main ribbon, then choose Clip Art.
The Clip Art search facility should pop up on the right side of your screen.
Note: You need to be online for the Clip Art search feature to work.
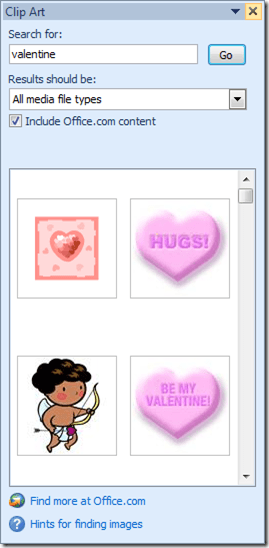
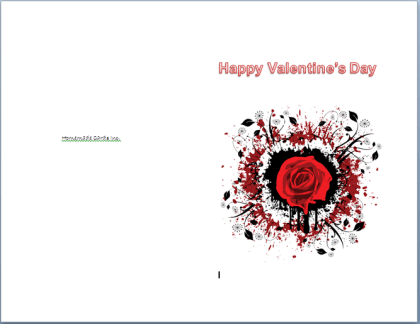
You can type whatever you like in the search box to find an appropriate image to embed in your card. When you find one you like, just double-click on it.
Note: You can also drag your image and drop it into your document.
At this point, your card should look something like this:
Next, press the Enter key until you run out of page and a new one is started. The second page is the inside of the card. The left side will be the inside left side of the card, and the right side of the page the inside right side of the card.
You can put anything you want on either side, using text and/or graphics to convey what you’d like the recipient to know.
Note: To make graphics easier to put where you want them, click on them with your right mouse button, click on Wrap Text, then choose Tight on the drop down menu.
When you get done, it should look something like this:

Try clicking on the View tab on the main ribbon, and clicking Two Pages to give yourself a better feel for how the whole card will look when finished. It should look something like this:

The left side is the front and back, the right side is the left and right inside of the card.
Once you get your card to look the way you want, print it on some heavy card-stock printer paper; it’s generally sold in a variety of colors, which is usually nicer looking than plain white.
To print your card, empty out the paper tray, then put in just one piece of your good paper. Print out the first page, then put the same piece of paper back in the input tray and run it through again so that it prints on the other side of the card.
Finish by folding the card in half.
To make a card that will fold naturally in the middle, which will mean having a front, middle material and back, you first need to click on the Page Layout tab on the main ribbon. Click on Orientation, and choose Landscape, so that the card can be folded sideways.
Next, click on Columns, then choose Two
After that, click on the View tab on the main ribbon, then select One Page so that you can see how the whole front and back of the card is looking at the same time.
Press the Enter key several times, till you get to somewhere near the center of the page (this will be the back of the card) then type something, like “Homemade Cards Inc.” Pick a cute font for your words and that should do it for the back. At this point your card should look something like this:
Press the Enter key a bunch of times again, until the cursor appears at the top of the right hand side of the page. This will be the front of the card.
Type an appropriate greeting, such as Happy Valentine’s Day, etc.
Then press the Enter key a couple of times to create some spaces; after that, click on the Insert tab on the main ribbon, then choose Clip Art.
The Clip Art search facility should pop up on the right side of your screen.
Note: You need to be online for the Clip Art search feature to work.
You can type whatever you like in the search box to find an appropriate image to embed in your card. When you find one you like, just double-click on it.
Note: You can also drag your image and drop it into your document.
At this point, your card should look something like this:
Next, press the Enter key until you run out of page and a new one is started. The second page is the inside of the card. The left side will be the inside left side of the card, and the right side of the page the inside right side of the card.
You can put anything you want on either side, using text and/or graphics to convey what you’d like the recipient to know.
Note: To make graphics easier to put where you want them, click on them with your right mouse button, click on Wrap Text, then choose Tight on the drop down menu.
When you get done, it should look something like this:

Try clicking on the View tab on the main ribbon, and clicking Two Pages to give yourself a better feel for how the whole card will look when finished. It should look something like this:

The left side is the front and back, the right side is the left and right inside of the card.
Once you get your card to look the way you want, print it on some heavy card-stock printer paper; it’s generally sold in a variety of colors, which is usually nicer looking than plain white.
To print your card, empty out the paper tray, then put in just one piece of your good paper. Print out the first page, then put the same piece of paper back in the input tray and run it through again so that it prints on the other side of the card.
Finish by folding the card in half.
No comments:
Post a Comment