
By now, most people have heard of GIMP, the free open source photo editing program; though a lot of people don’t use it due to it’s reputation of being cumbersome to learn. That may or may not be the case, but it doesn’t mean everything you’d want to use it for has to be that difficult.
As one example, there are a lot of round about ways to change eye color in photographs, some of them long and detailed, but there is also a way to do it that is quick and short. This is the method we’ll be looking at here.
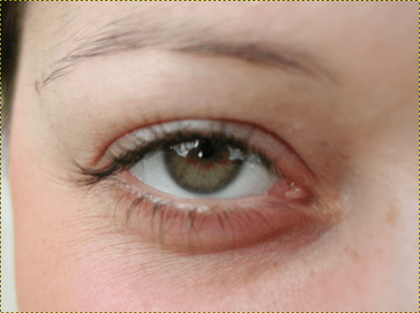
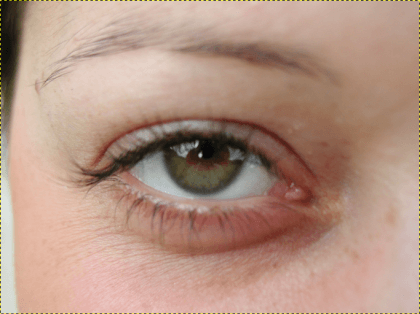
First of all, if you don’t have GIMP go download it and install it on your computer; then choose a photograph that has plenty of eyeball showing; for this example, we’re going to be using this one:
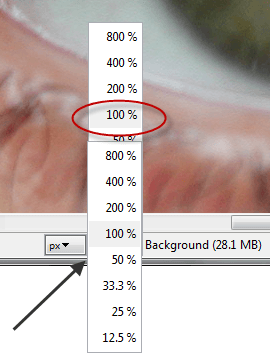
To begin, load your photograph in GIMP, then zoom in on just the eye:
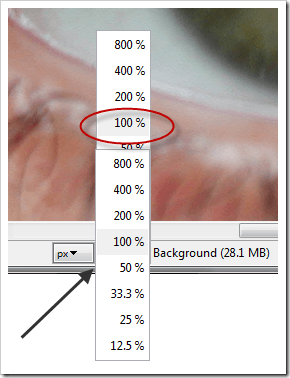 In this case, 100% is plenty, if the eyes in your picture are smaller you may need to zoom in more.
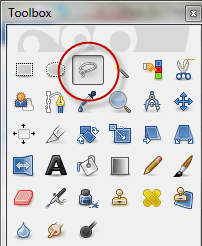
Next, click the Lasso icon on the Toolbox panel:
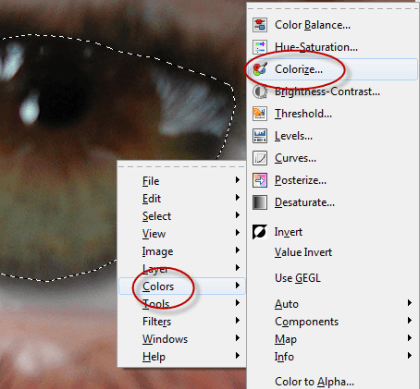
 Then, click on an edge of the iris, move the lasso to another place on the iris and click again, and so on till you have outlined the iris. Once you’ve gone all the way around click once again on the first mark you made and your outline will change to this:
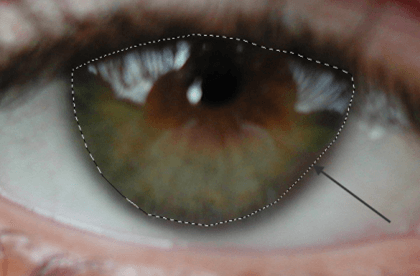 Then, right-click inside the marked area to bring up a popup menu; choose Colors, then Colorize…
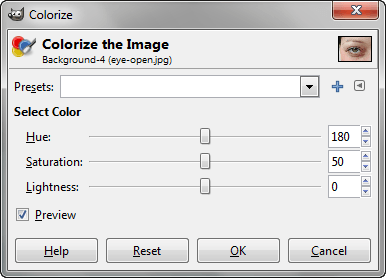
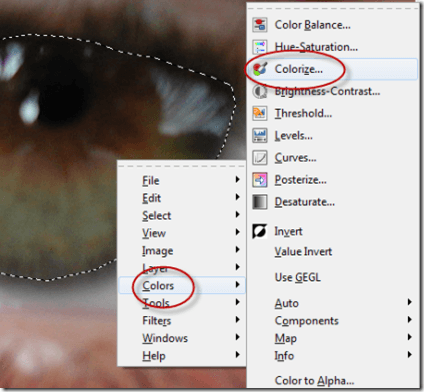 To get this popup window:
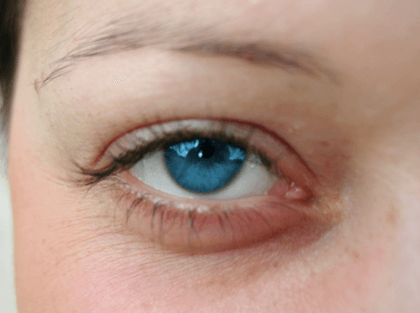
 Finish by zooming back out to see how it looks.
 If you make any mistakes you can use the history pane to back up and try again, or just start over without saving your work; and that’s all there is to it.
Save your file to your hard drive, and your photo is ready to use in whatever way you see fit.
As this example demonstrates, not everything in GIMP has to be all that hard and/or complicated. The best way to learn how to use it, is to just get in there and give it a try.
As one example, there are a lot of round about ways to change eye color in photographs, some of them long and detailed, but there is also a way to do it that is quick and short. This is the method we’ll be looking at here.
First of all, if you don’t have GIMP go download it and install it on your computer; then choose a photograph that has plenty of eyeball showing; for this example, we’re going to be using this one:
To begin, load your photograph in GIMP, then zoom in on just the eye:
Next, click the Lasso icon on the Toolbox panel:


Choose the color that you’d like the eyes to be by moving the sliders around, here, we’re going with a natural blue:

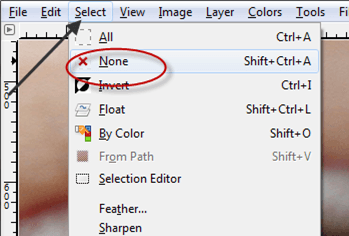
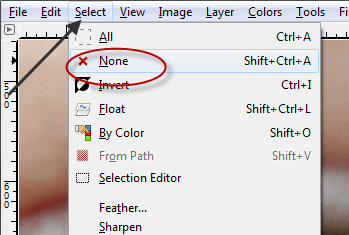
Click the OK button when you’re satisfied, then move up to the Main Menu and choose Select, then None from the dropdown menu to deselect the area you selected with the lasso.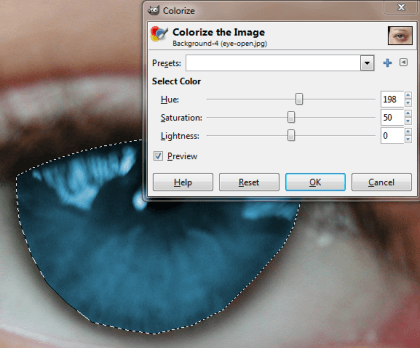

Save your file to your hard drive, and your photo is ready to use in whatever way you see fit.
As this example demonstrates, not everything in GIMP has to be all that hard and/or complicated. The best way to learn how to use it, is to just get in there and give it a try.
No comments:
Post a Comment