
Have you ever owned a DVD of your favorite performer in concert? Sometimes you’ll find a great concert DVD that for whatever reason isn’t available as an audio CD. So what are you supposed to do if you want to listen to the music from the concert on an iPod or other portable music player?
There are quite a few options available, especially for Windows, but many of those options are simply “recording” the sound from the DVD. It’s an okay solution, but will result in quality loss, compared to copying the actual audio track, bit for bit.
There are programs we’ve discussed before, like HandBrake that make ripping DVDs simple, but not as simple as it could be for this task (since the only options are to reencode the music, and not simply copy it).
Thankfully, Linux users have a great tool in Acidrip. The process isn’t as simple as it could be, since Acidrip doesn’t offer the ability to simply copy only the audio track (you must copy the video track as well), but it’s a better, and simpler option, than many.
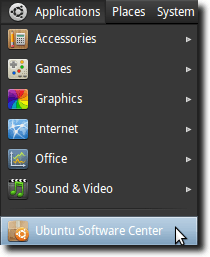
The first step is installing Acidrip. To do this, open your package manager. We’re using Ubuntu, so the Ubuntu Software Center is our default.
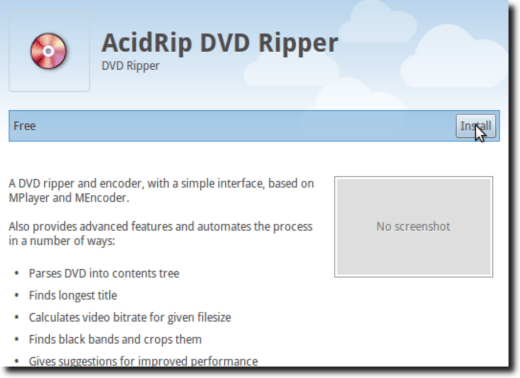
Now search for Acidrip and click to install it.
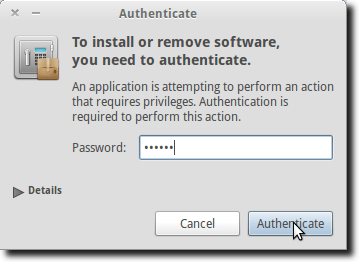
You’ll likely be asked for your password, so provide it to begin the downloading and installation.
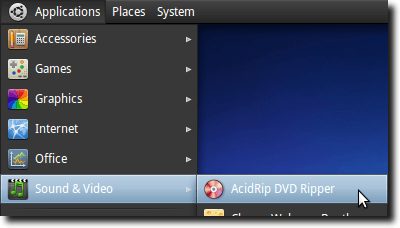
When Acidrip has finished installing, you can open it from your menu system. It will be found in the Applications menu, under Sound & Video.
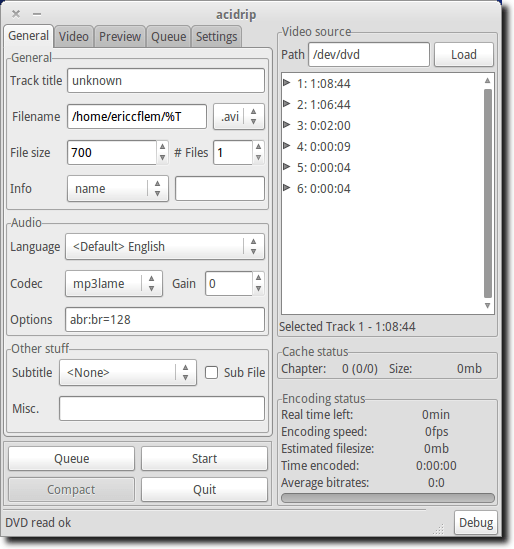
When it opens, you’ll see the main window. If there is a DVD in your drive, the available titles and chapters will show up in the right sidebar, although you’ll generally need to click the Load button first.
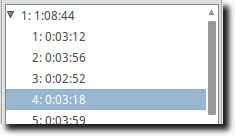
To extract a single song (assuming each song is given its own chapter on the DVD), select that chapter from the sidebar. In this example, we’re choosing Track 4.
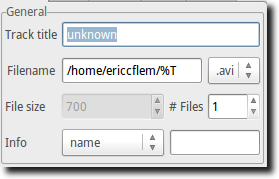
Now, under the General tab and the General section, we can give the track a title, choose a save location, and if we want, give it a name, provide an artist, or other metadata. Don’t worry about the file size option, as it doesn’t apply for what we’re doing.
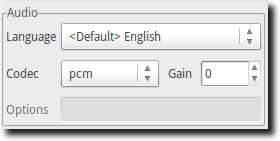
If the goal is now to get a perfect copy of the audio track, go to the Audio section (still on the General tab), and choose your language (most concert DVDs will likely only have one option), and then an audio codec.
The “copy” option should – for most DVDs – copy the chapter’s audio track, although for DVDs which use a PCM track, you should choose that option. The other two options, lavc and mp3lame, will result in audio playable on an iPod; if this is what you want, be sure to look at the bitrate settings so you get the quality you need.
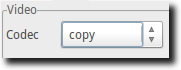
Now go to the Video tab. Even though we’re only interested in the audio track, we need to make a choice of what video codec we need. We’ll choose copy, as this takes far less time than actually doing any encoding. It does take up a large amount of room, as in effect we’re now copying the DVD at perfect quality (or at least the portion you want).
Once you’re finished in the Video tab, return to the General tab. If you’ll only be copying a single chapter/song, click the Start button. If you’ll be ripping an entire concert, track by track, the process is as simple as hitting the Queue button, which will add the ripping information for our single track to your queue. You can now select the next track, and add it to your queue.
The only thing to remember is that you’ll need to give it a new name, otherwise the second track will overwrite the first. Continue doing this – select a track, give it a new name, hit the Queue buton – until you’ve selected all the tracks you want. Now, hit the Start button. The following window will appear.
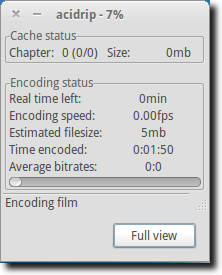
When you’re done, you should have all the tracks, ripped individually, in the save location you chose.
We’re not done yet, however; we still need to isolate the audio, since we were forced to copy the video. However, this is also very simple, although it does require the Terminal and the FFmpeg program.
To extract the audio track, simply follow the same steps used in extracting the audio from a Flash video file, something we discussed in this article. Type the following, replacing “Track01.avi” with the name of your ripped track.
ffmpeg -i Track01.avi -vn -acodec copy Track01.wav
The command above tells FFmpeg to use Track01.avi as our input file. We tell it to ignore the video track (the -vn operator), then tell it to copy the audio track and save it using Track01.wav as the name. Simply repeat this for all your ripped chapters.
And that’s all there is. You now have an audio track that should be about as perfect a copy of the actual DVD audio as you can get. And although these steps are a bit lengthy, once you get going, it will likely take far less time to actually perform the DVD ripping than it does to follow the tutorial!
No comments:
Post a Comment